How to Log in to Trezor.io/start: A Complete Guide
Cryptocurrency wallets are essential for anyone serious about managing digital assets securely. Trezor is one of the most trusted hardware wallets in the crypto space, providing unmatched security for storing Bitcoin, Ethereum, and other cryptocurrencies. If you’re new to Trezor or need help logging in, this guide on Trezor.io/start will walk you through the entire process step by step.
What is Trezor?
Before diving into the login process, it’s important to understand what Trezor is. Trezor is a hardware wallet that stores your cryptocurrency offline, making it immune to hacks and phishing attacks. Unlike software wallets or exchanges, Trezor ensures that your private keys never leave the device. The wallet is compatible with multiple cryptocurrencies, and its interface is designed to be user-friendly for both beginners and experienced traders.
Why Use Trezor.io/start?
Trezor.io/start is the official gateway to set up and access your Trezor wallet. The website is secure and guides you through connecting your hardware device, installing the necessary software, and accessing your crypto funds safely. Always make sure you are visiting the official Trezor website to avoid phishing scams.
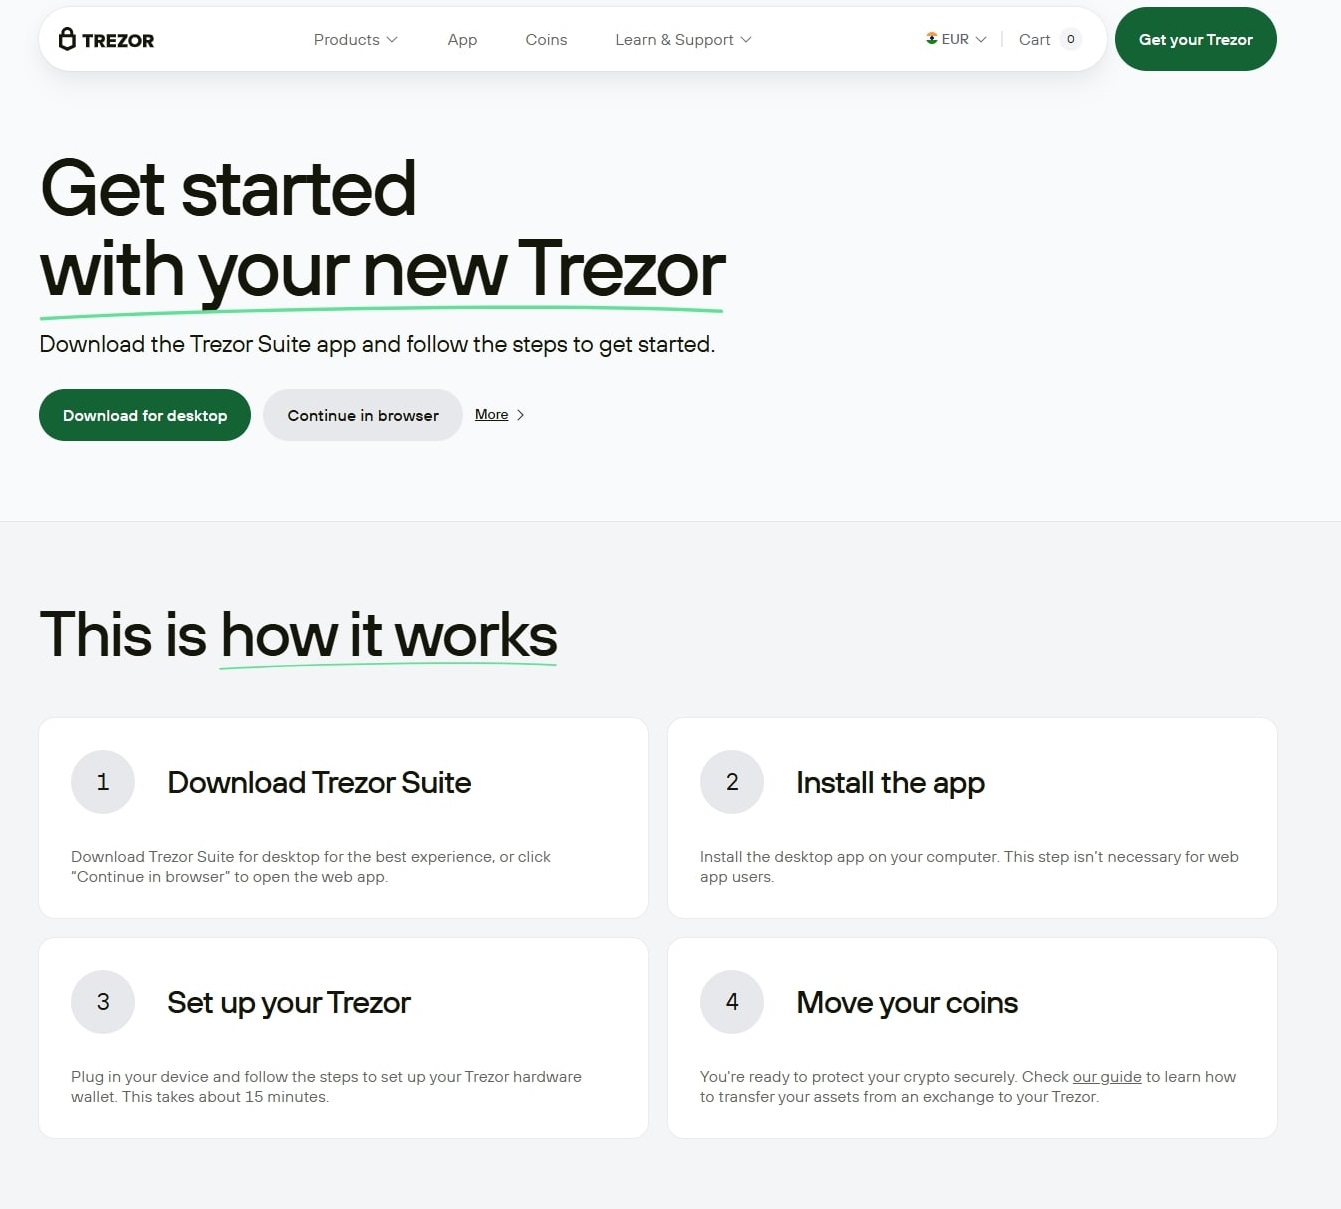
Steps to Log in to Trezor.io/start
Logging in to your Trezor wallet is a simple yet secure process. Follow these steps:
Step 1: Connect Your Trezor Device
First, connect your Trezor hardware wallet to your computer using the USB cable provided in the package. The device will power on and display the Trezor logo. Ensure that the connection is stable throughout the setup process.
Step 2: Open Trezor.io/start
Next, open your web browser and go to Trezor.io/start. You will be greeted with instructions on how to initialize your wallet. Make sure your internet connection is secure and that you are visiting the official website.
Step 3: Install Trezor Bridge
Trezor requires a small software called Trezor Bridge to communicate between your hardware wallet and your computer. Download and install Trezor Bridge following the on-screen instructions. Once installed, refresh the website to detect your device.
Step 4: Initialize Your Wallet
If this is your first time using Trezor, you will need to initialize your wallet. Choose between creating a new wallet or recovering an existing one using your recovery seed. The recovery seed is a set of 12–24 words provided when setting up your wallet. Keep this seed offline and secure; it is the only way to restore your wallet if the device is lost or damaged.
Step 5: Set a PIN Code
Trezor will prompt you to create a PIN code. This adds an extra layer of security and ensures that even if someone has physical access to your device, they cannot access your funds. Enter your PIN using the Trezor’s device screen, which randomizes numbers to prevent keyloggers from capturing your code.
Step 6: Access Your Wallet
Once your PIN is set, you can access your wallet dashboard. The dashboard will display all your cryptocurrencies, balances, and transaction history. From here, you can send and receive coins securely, manage multiple accounts, and even integrate with other crypto applications.
Tips for Secure Login
Always use the official Trezor.io/start link to prevent phishing attacks.
Keep your recovery seed offline and never share it with anyone.
Regularly update your device firmware to ensure maximum security.
Use a secure computer and browser when accessing your Trezor wallet.
Troubleshooting Login Issues
Sometimes, users may encounter issues logging in. Common problems include:
Device not detected: Ensure that Trezor Bridge is installed and that your USB connection is secure.
Forgotten PIN: Use your recovery seed to reset the device.
Browser compatibility issues: Trezor works best on Chrome, Firefox, or Brave browsers.
Following these steps carefully will resolve most login issues quickly.
Conclusion
Logging in to Trezor.io/start is a straightforward process, designed to keep your cryptocurrency secure while giving you easy access to your funds. By connecting your device, installing Trezor Bridge, setting up a PIN, and using your recovery seed wisely, you can confidently manage your digital assets with Trezor. Whether you are a beginner or an experienced trader, Trezor ensures your crypto remains safe from hackers and online threats.